- What is a Gaited Horse - October 5, 2023
- What to Look at When Getting a New Farrier - September 21, 2023
- Best Horse Feeds for Older Horses - September 21, 2023
- Bottom Line Up Front: What Are the Best Ways to Train Your Horse?
- Types of Training for Horses
- Training Steps for a Young Horse
- Handling the Young or Unbacked Horse
- Groundwork Basics with the Young Horse
- Introducing Tack and Desensitizing a Young Horse
- Introducing a Rider to the Young Horse
- Troubleshooting Guide for Training a Young Horse
- FAQs
- How to Train a Horse: Conclusion
When I finally decided to buy my first horse, I found a lovely unbacked mare. She was touted as being halter-trained, but it turned out that she was barely used to being handled and knew nothing about forward pressure. I had a decision to make: Get a trainer, or train her myself.
I chose the latter, so my journey with and training horses began.
This article will guide you through the first steps of how to train a horse basics to their first ride.
Bottom Line Up Front: What Are the Best Ways to Train Your Horse?
The best way to train your horse requires that you bond with your horse. You will use methods like:
| Method | Description |
| Advance-freeze-retreat | Teach your horse that you see them by bringing new things closer, then freezing if they seem worried, waiting until they relax, and then retreating.
The horse feels seen, heard, felt, and gotten. |
| Pressure and release | Wild animals pull away from things that restrain them.
To get a horse responsive, get them to come toward pressure by releasing pressure as soon as they move forward, such as on the lead line. |
| Groundwork | Horses communicate with their bodies. If you can control their body and how they move, they respect you and see you as their leader. |
| Desensitizing | Since the horse is a flight animal, you have to build their confidence by showing them new things and helping them think and not flee. |
| Circling to train your horse | Respect is earned by moving the horse’s feet instead of your own by getting them to walk, trot, and canter in a circle around you. |
By gaining my five horses’ trust, I built an unbreakable bond. And they allow me always to introduce new things, helping make the ridden experience safe and memorable.
Types of Training for Horses
Your horse will be receiving training throughout most of their life, from being trained to be a ridden horse to receiving advanced training as a dressage horse, jumper, sports horse, or more. The focus of all training is as follows:
- Get the horse relaxed.
- Gain their trust.
- Introduce new things.
- Get the horse’s obedience.
- Work in partnership.
- Ensure the horse becomes more balanced and flexible.
A focused approach to horse training can help you develop willing partners in your equine bestie; I certainly have. My horses are friends, partners, and part of my life because of our training and experiences.
Training Steps for a Young Horse
A young horse can be either a horse aged two to four (so no longer a baby, but not an adult), or it can also be a previously unridden older horse. While the more senior “young” horse may not be a baby, they have limited experience with humans and being ridden.
Training is a step-by-step process for both young horses requiring the right training mindset.
As a trainer, you need to develop a training mindset. This means you are always “on duty” around your horse. From the moment you fetch them from the paddock to the last goodbye, you show them the world and how you would like them to behave.
Here are the steps to guide your young horse through becoming a ridden horse.
Handling the Young or Unbacked Horse
A young or unbacked horse may not be used to working on the halter. Even if they accept the halter, it’s essential to see whether they understand the first principle of their training journey: yielding to pressure.
You Will Need
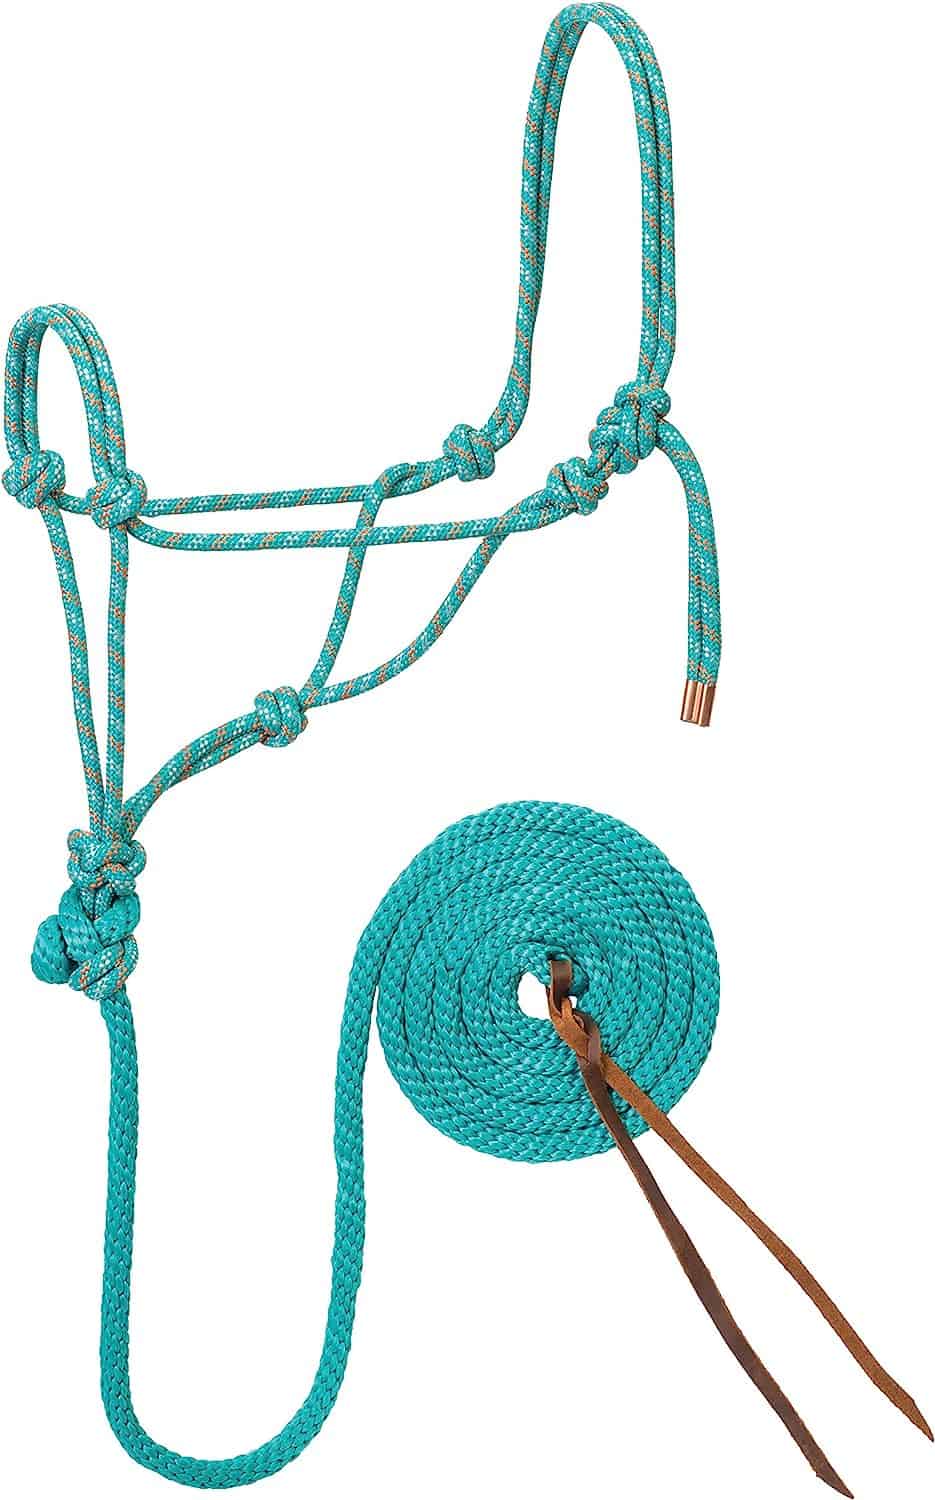
- A rope halter (aka a horseman’s halter)
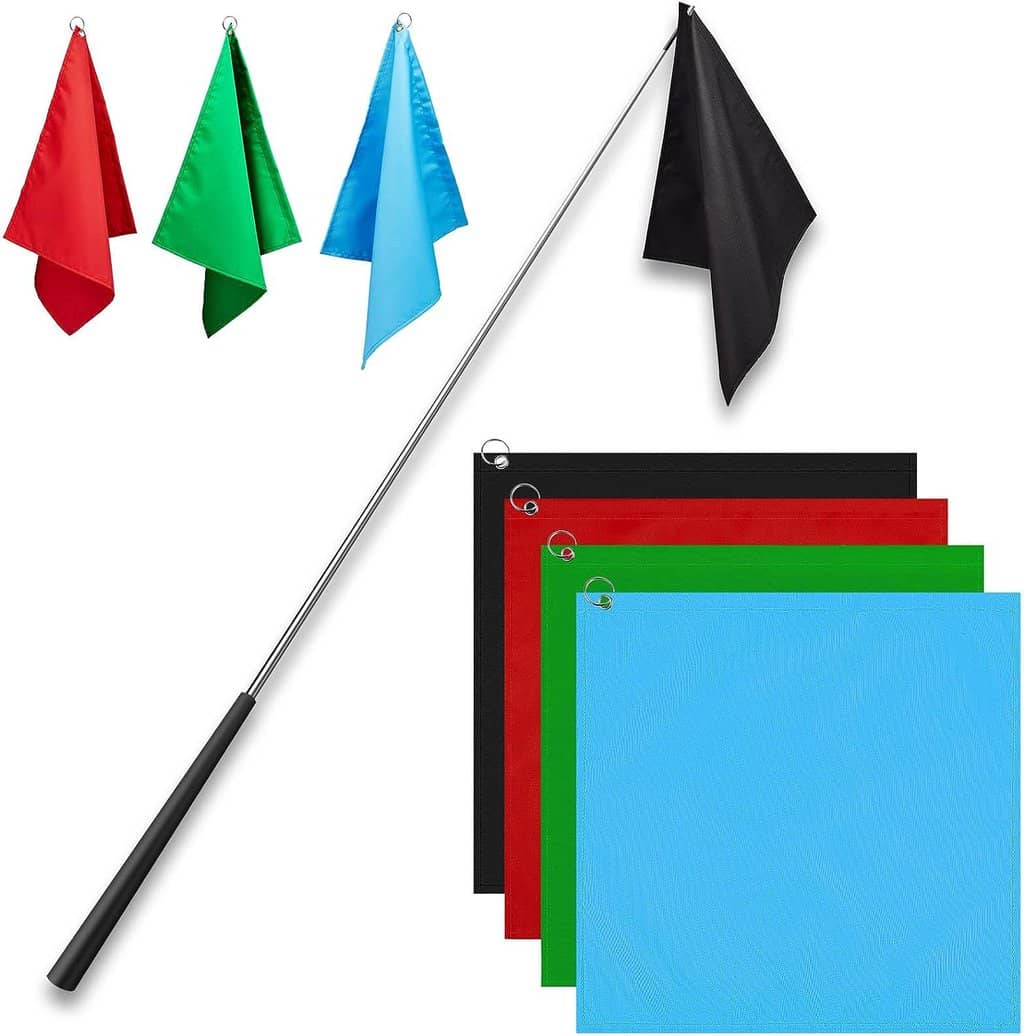
- A dressage whip or a training flag set
How to Handle the Young Horse
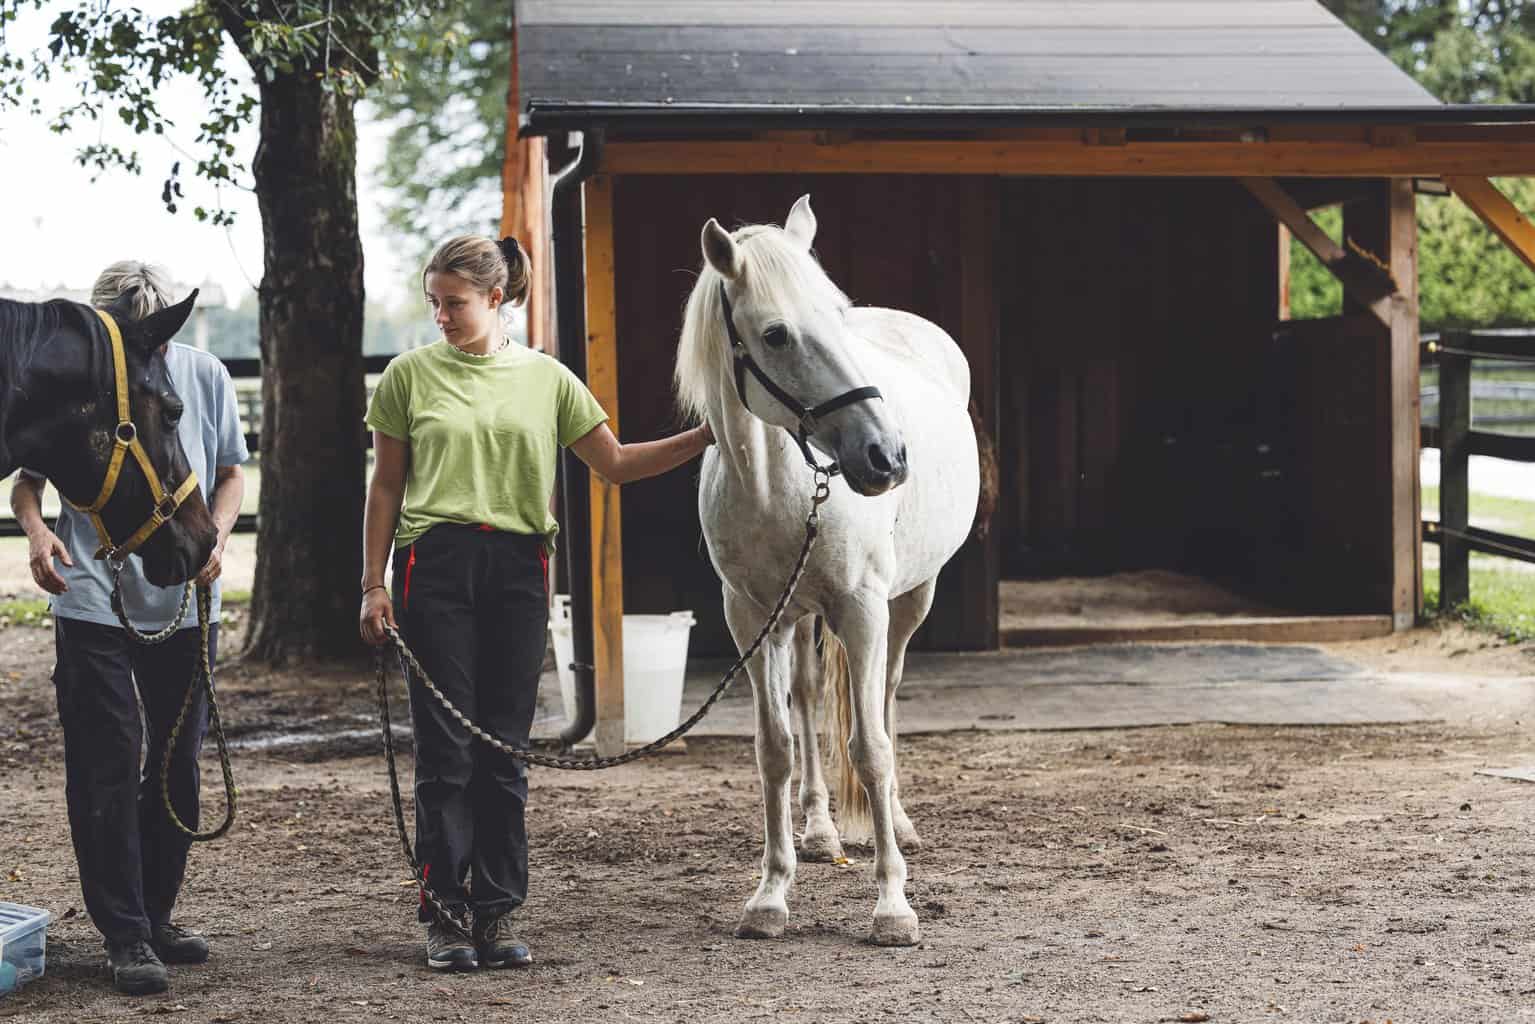
When I backed a few horses for a local stud, I handled the older stock that had never sold. These geldings were aged 7-11 years old, and while you could groom them in the stable, they had not received the very basic training: how to lead obediently on a halter.
Without this basic, they could never accept a saddle and rider. So here’s what I did:
First, I’d let them sniff the halter, adjust the rope halter to fit correctly, and then I’d begin introducing “forward into pressure.” Essentially, you gently tug on the lead, and as soon as the horse leans forward or takes their first step forward, you reward by releasing all pressure. Verbal praise is also excellent here. You work on backing them up once they can come forward on a soft ask.
I had to wiggle the rope more for some horses, but others would back off as soon as the rope wiggled. It’s essential to use your energy to push the horse backward.
For a “shut down” horse, I had to use the dressage crop or end of the lead rope to add an extra signal since you never want to pull harder or smack the horse. You aim to push them back or direct their attention to where your crop or training flag points. When the horse tips back on their hocks, reward by stopping all pressure and praising.
Top Tips
- Don’t try to bribe the horse forward with a food reward. This discourages learning.
- In the future, you want to be able to touch all of your horse’s body. You would have taught your horse to accept touch if you had them as a foal. With older horses, this may take some time, and you can integrate it into grooming activities.
- You must be able to touch their face, ears, lips, under the belly and chest, and lift their feet.
Groundwork Basics with the Young Horse
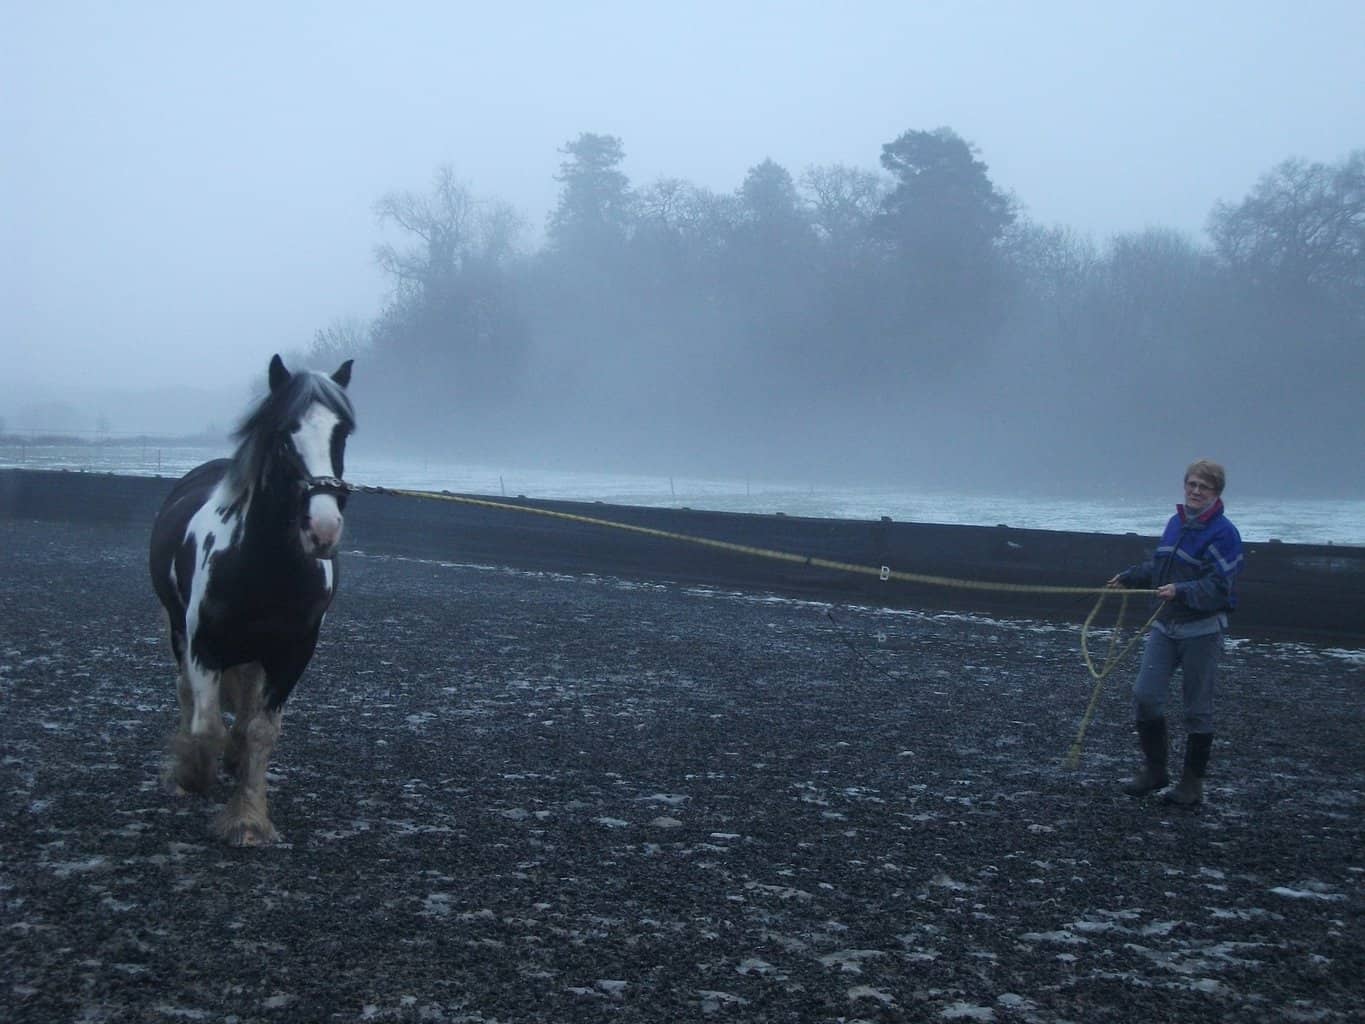
The next step in training is to teach the horse groundwork basics, which include teaching the horse to move sideways, away from your pressure, and around you, as in lunging.
You Will Need
- Lunging whip
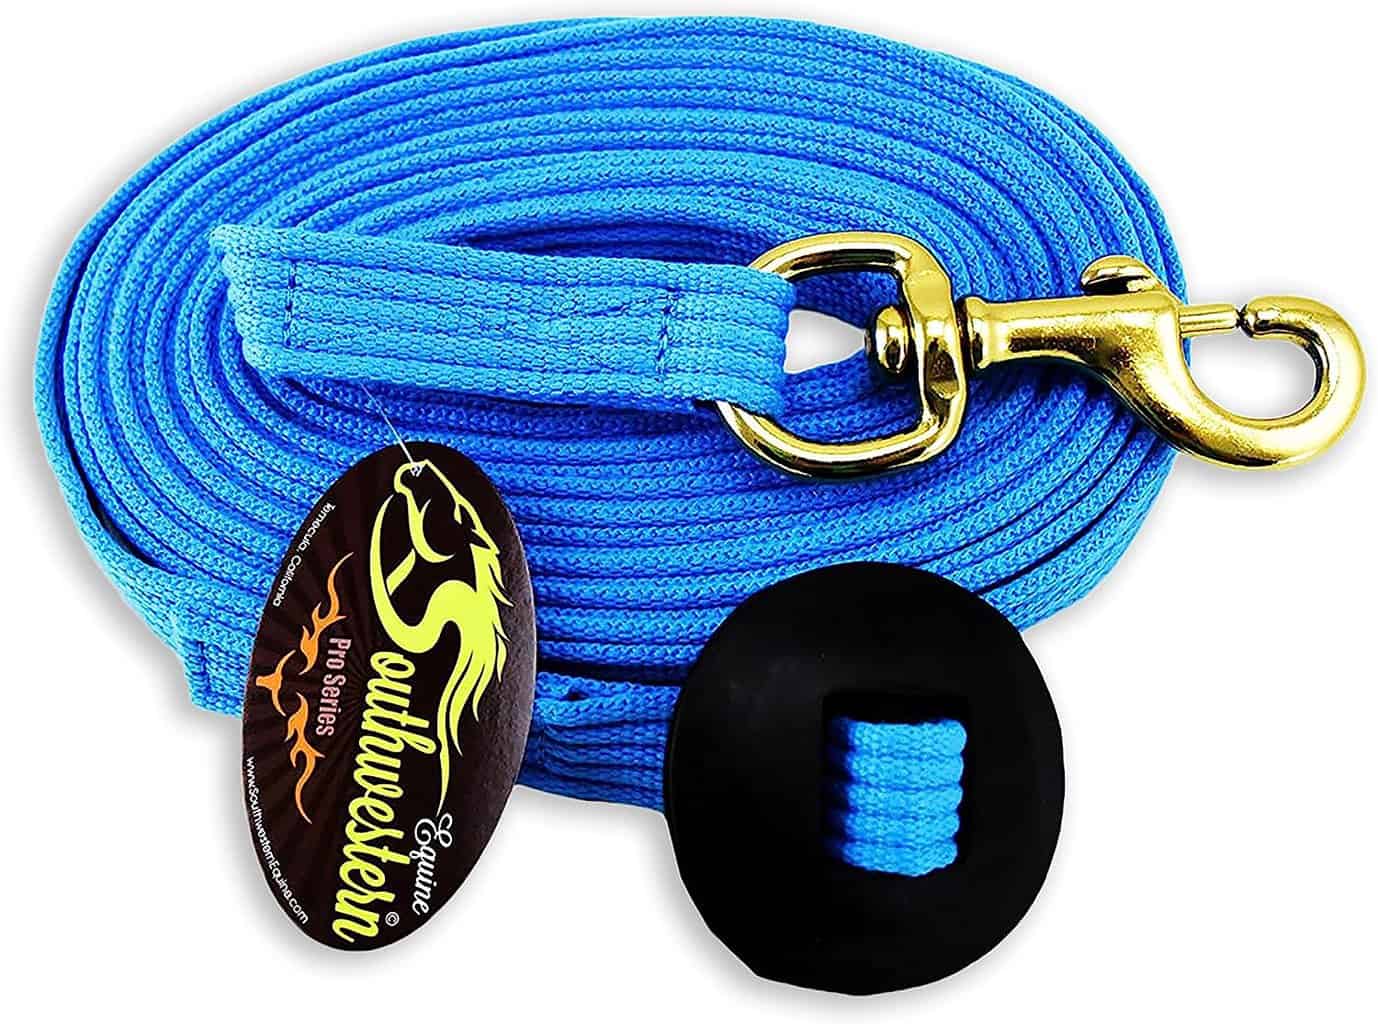
- Lunging line or longer length lead line
How to Teach Groundwork
Once the horses I trained were happy to walk next to me with slack in the rope, turning to follow me and moving according to my directions, I could progress to more “advanced” groundwork basics.
| Groundwork Strategy | Steps |
| Yielding the Quarters | Being able to control the horse’s feet is important to condition them to accept your guidance mentally.
You already control forward and backward motion, so now you can further improve on the sideways motion. 1. Standing at your horse’s head, gently tap them on the shoulder, and if needed, point your other hand (that holds the lead rein) to the side. As soon as your horse moves, reward them by releasing all pressure. 2. Next, stand at your horse’s shoulder, and keeping their head slightly tipped to you, apply pressure to their nearest hip, visually and, if needed, with light taps. Once the horse steps their hind end away from you, reward by letting all pressure ease. |
| Circling the Horse | The horse is already used to moving forward on slight pressure.
Now you can use the same hand that draws the horse to you to send them sideways and around you. 1. A lunging whip, the end of the lunge line, or the flags in your other hand can help you apply pressure to the horse’s back end or shoulders, yielding them away. Aim for a circle of at least 30 feet to avoid getting kicked if they become excited. 2. Don’t try to get a full circle at first. A few steps, reward, then more steps, and repeat until the horse happily walks around you in both directions. 3. Step up to a trot and eventually have the horse canter around you. |
| Flexion and Softening | When you eventually ride your horse, you would need them to soften and “give their head” to you, which is how you get a soft stop or halt.
You will need a lot of patience for this exercise as the horse may need time to understand. Quick rewards are also of critical importance. 1. Stand next to your horse’s shoulder, facing forward, with your shoulder against their body. 2. Drape the lead line over their neck like a riding rein. 3. Gently take up the lead rein using your outside hand (the hand furthest from the horse’s body) and softly pulse the rein. 4. As soon as your horse tips their head toward you, release all pressure. 5. Each time they give more, reward with encouragement. 6. Continue increasing how far they flex their head around until they can bend it to you, but never pull on the line (which will turn their nose to you and not their head). 7. When the horse is ready, you will feel them turn all the way to you with their head, with no resistance in their neck or pulling back on the lead. 8. If the horse resists, maintain pressure a little longer until they relax, then reward by releasing all tension and stroking their neck. 9. Repeat on both sides. |
Introducing Tack and Desensitizing a Young Horse
The goal of the pressure exercises and groundwork basics is to teach your horse to accept your “asks” in a soft way without panicking.
If your horse still pulls against you or tries to bolt away on the circle, continue practicing these activities before progressing to tack and desensitizing.
You Will Need
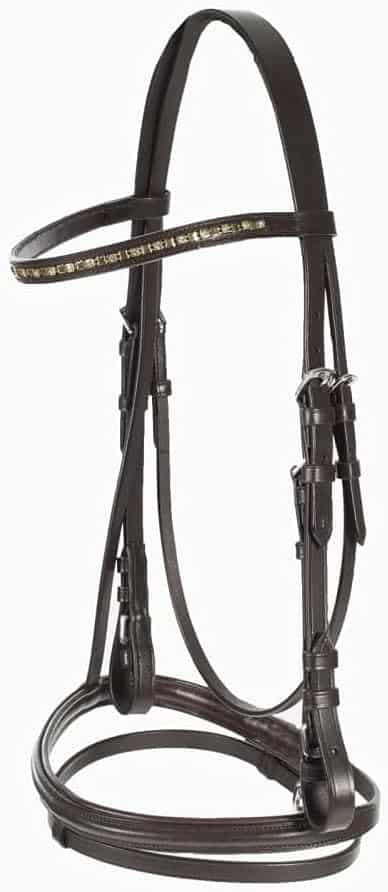
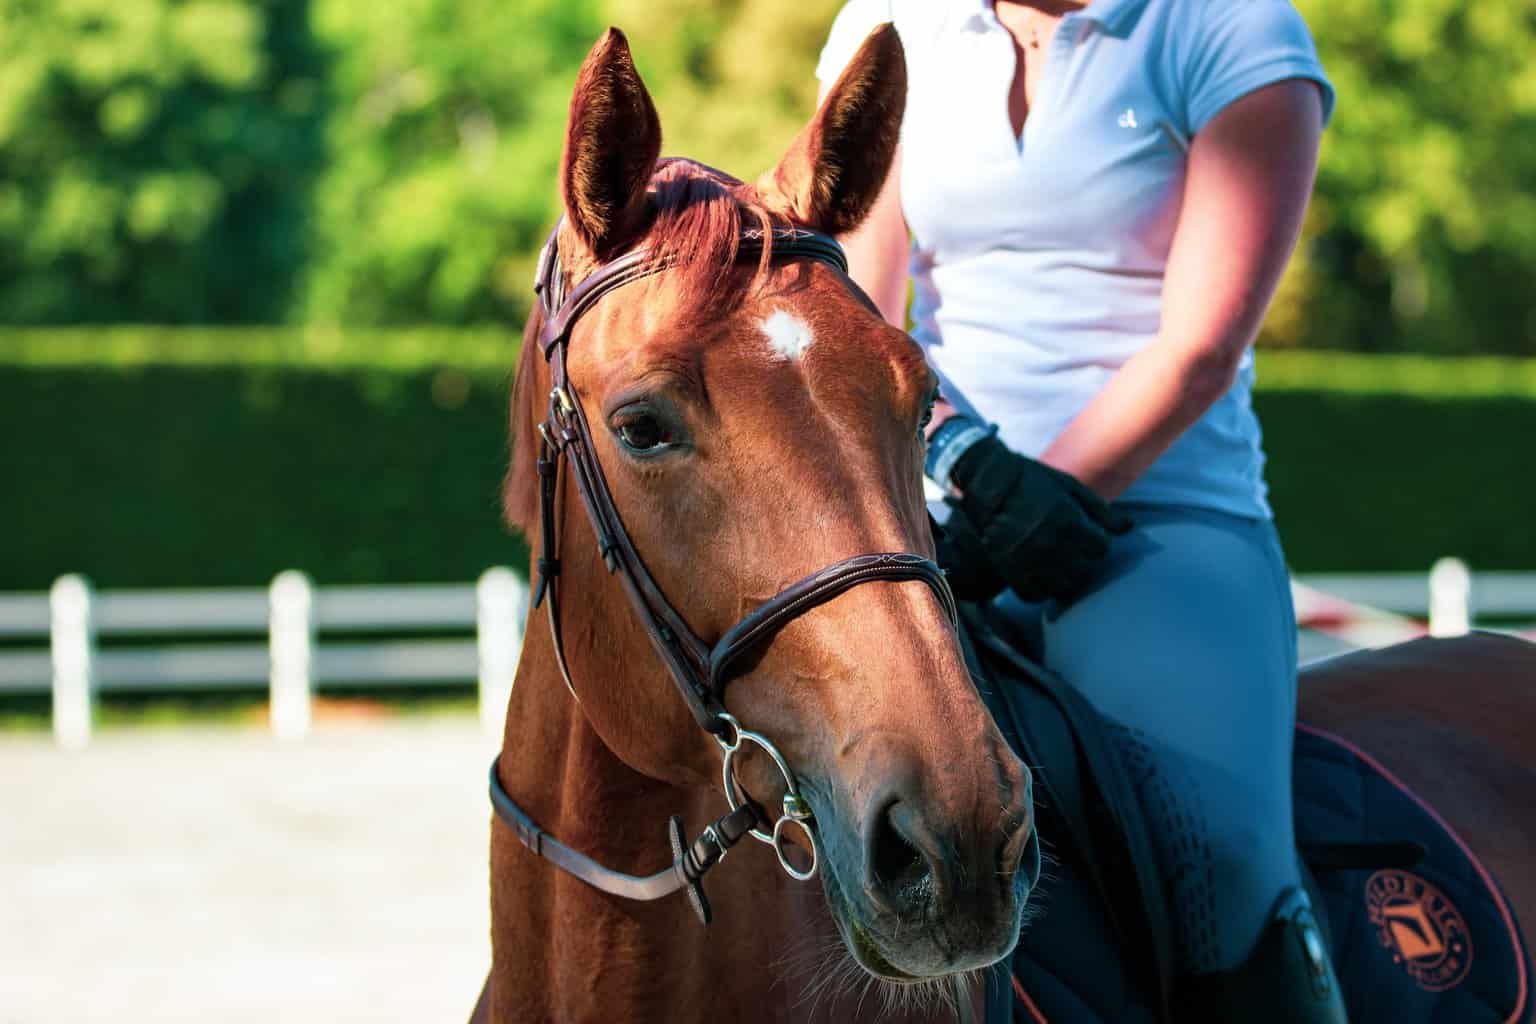
- A rope halter (if you prefer to ride bitless) or a bridle that fits your horse correctly (for bitted riding).
- A soft bit such as a snaffle bit or soft mullen mouth straight bar bit without a curb chain.
- A saddle that has a forgiving fit to help your horse accept restriction. A starter kit can work well, but the bit in these is usually not ideal for backing your horse.
How to Introduce New Things to a Young Horse
Placing the bridle on a horse for the first time is a big deal, especially if you do it wrong. With any tack I place on a horse, I never want to force it on them. Instead, I let them get really comfortable with the tack next to them, and then I move it further away so they don’t feel threatened.
When they are totally bored with the tack, I move it closer, and eventually, I fit it while maintaining a playful and supportive energy. Make saddling up a game, and your horse will never try to kick or bite you when you tack them up.
| Objects to Introduce to Your Horse | Steps |
| First Bridling of Your Horse | The first time your horse accepts a bridle shouldn’t be a big thing. Up until now, they have happily gone in the halter.
You can use the appropriate tack and introductions to back your horse and ride them bitless. 1. With the bridle, it’s essential first to fit the headstall of the bridle to ensure that it fits comfortably. Some riders do this without the reins, while others do this with the reins and bit fitted. 2. To ensure success, use an advance and retreat approach. Take a new tack item closer, and as soon as the horse becomes bothered by it, stop, wait for them to relax a little, and then back off. It may seem like you’re taking the long way around, but this approach works really well. 3. With the bridle, bring it as close to the horse as they will allow (without any sign of concern from you). As soon as they look worried or move their feet, keep it at that distance until they calm down, then remove the bridle or move it further away. You show the horse that you see them and acknowledge their concern by being a good leader. Continue until the horse will let you place the bridle on them. 4. If you haven’t introduced the bit yet, wait until the horse is happy to have the bridle fitted. 5. Fitting the bridle (without the bit) on your horse helps you estimate the settings of the cheek pieces to accommodate the bit. Fit the bit to the bridle, then bring the bit (in the bridle) up to the horse’s side so they can investigate it. 6. I like to play with my fingers near their mouth as I bring the bit to their lips. As soon as they soften and open their mouth (you can insert a finger in the open space at the side of their mouth to get them to “mouth”), slip the bit inside and keep the headstall up. Don’t pull on the bit or bang it into their teeth. 7. Slip the headstall in place, and let the horse have time to mouth on the bit. Ensure the bit fits comfortably and doesn’t hang or pull in too tightly on the corners of their mouth. Top Tip: Let the horse eat some grass or hay, or feed them a treat like some soft apple slices to encourage them to accept the bit. I check if the horse is relaxed with the bridle by performing all groundwork exercises with the bridle on them. Your horse needs to perform these softly and without resistance before you progress to the next tack item. |
| Lunging the Horse with Bridle | Next, you will introduce cues on the bridle or bit by lunging your horse in the round pen or an arena.
Your horse already knows how to circle, but now you want them to accept the bit, move forward more, and come toward you when asked. 1. Fit the bridle and bit. Don’t attach the bridle’s throat latch yet. Wrap the reins around the horse’s neck, twisting them slightly just below the jaw, and then hook the throat latch through this and fasten it. The reins will be out of the way, so your horse can’t accidentally step on them. 2. Attach the lunge snap. There are two ways to do this: Either directly to the inside ring of the bit, or you can thread the lunge line through the inside ring of the bit, over the horse’s poll, and down the far side of their face to the outside bit ring. This attachment gives you a feel on both sides of the bit and helps so you don’t pull the bit through the side of their mouth as much (if they pull). 3. Use the lunge line and your “forward” hand to point your horse to begin circling. Increase pressure with the lunging whip (never hitting your horse unless they aggressively storm at you), and create larger circles until your horse can circle in a 50-foot pen. 4. Keep a light feel on the lunge line. Never pull on it unless necessary. A soft wiggle should get the horse to look inward at you and lower their head slightly. Praise and reward by releasing pressure. 5. Lunge to both sides. Repeat until the horse is relaxed and swinging in their step. |
| Introducing the Saddle | Your horse is now ready for their first saddle.
1. Work in an enclosed area like the round pen. Have the saddle and saddle pad ready. I suggest removing the stirrups for the first introduction. 2. Have the bridle fitted. It’s an excellent idea to have a light lunge session so the horse is attentive and listening to you. Then bring them up to the saddle. Give them as much time as they want to sniff the saddle and saddle pad. 3. Move the saddle slightly and gently play with the saddle pad. Decide whether today is the right day to place the saddle on their back or if you should “retreat” and do so the next day. 4. Begin by bringing the saddle pad up to the horse’s shoulder, gently rubbing it against their body. Remember: Advance, freeze, and retreat if they seem bothered. 5. When they are quite relaxed, gently lift the saddle pad onto their back and position it in place. Leave it for a few moments, then gently pull it away and repeat. 6. Repeat this with the saddle if your horse is still relaxed. Lift the saddle to the horse’s shoulder, rub it against them, then raise it, lower it, and repeat. 7. If your horse gives you the green light, you can gently place it on the saddle pad on their back. 8. Leave it for a few moments, remove it gently, and do so again. Look for signs of relaxation in your horse, such as sighing, soft eyes, slack lips, and lick-and-chew. 9. Now, begin raising the cinch or girth in place. Ensure the girth is long enough to comfortably fit around the horse’s barrel without pulling to the first pin position. Play with the girth, tightening and releasing in small increments until you can girth up to the position that holds the saddle in place with minimal pressure. This is a good time for a break or pause until the next session. 10. When your horse is unbothered with the saddling process, the time has come for their first steps with a saddle on. Take it slow, being wary that they may get a fright when they feel the saddle move on their bodies, and they could potentially bolt forward or buck next to you. If this happens, circle the horse, letting them have room to sort out their concerns with the saddle. |
I always repeat all groundwork activities with the tack, as your horse needs to simply see it as another item added to the routine, not some massive and scary change. When I see the horse is calm and happy to lunge and move with the saddle, I know they will be less stressed with me on their back.
Here are some fun ideas with tack but no rider:
- Take your horse for walks to feel the tack move on their bodies.
- Rub old feed bags against their legs, barrel, belly, bum, hips, neck, and even head.
- Use a large ball to play with them.
- Take an umbrella with you, slowly introducing them to having an umbrella open near or over them.
- Tie a rope to an empty bucket and drag it on the ground, letting your horse sniff it (you can hide a few treats inside to encourage their curiosity).
- Gently shake out a few old towels or bed sheets, and get your horse to walk over these, eventually progressing to a noisy tarp on the ground.
Introducing a Rider to the Young Horse
If you have built a bond with your horse, you will know when they are ready for that first “ride.” It should always happen when the horse is ready, not just because you want to. Leave your ego at the door, as this is all about your horse.
You Will Need
How to Mount for the First Time on a Young Horse
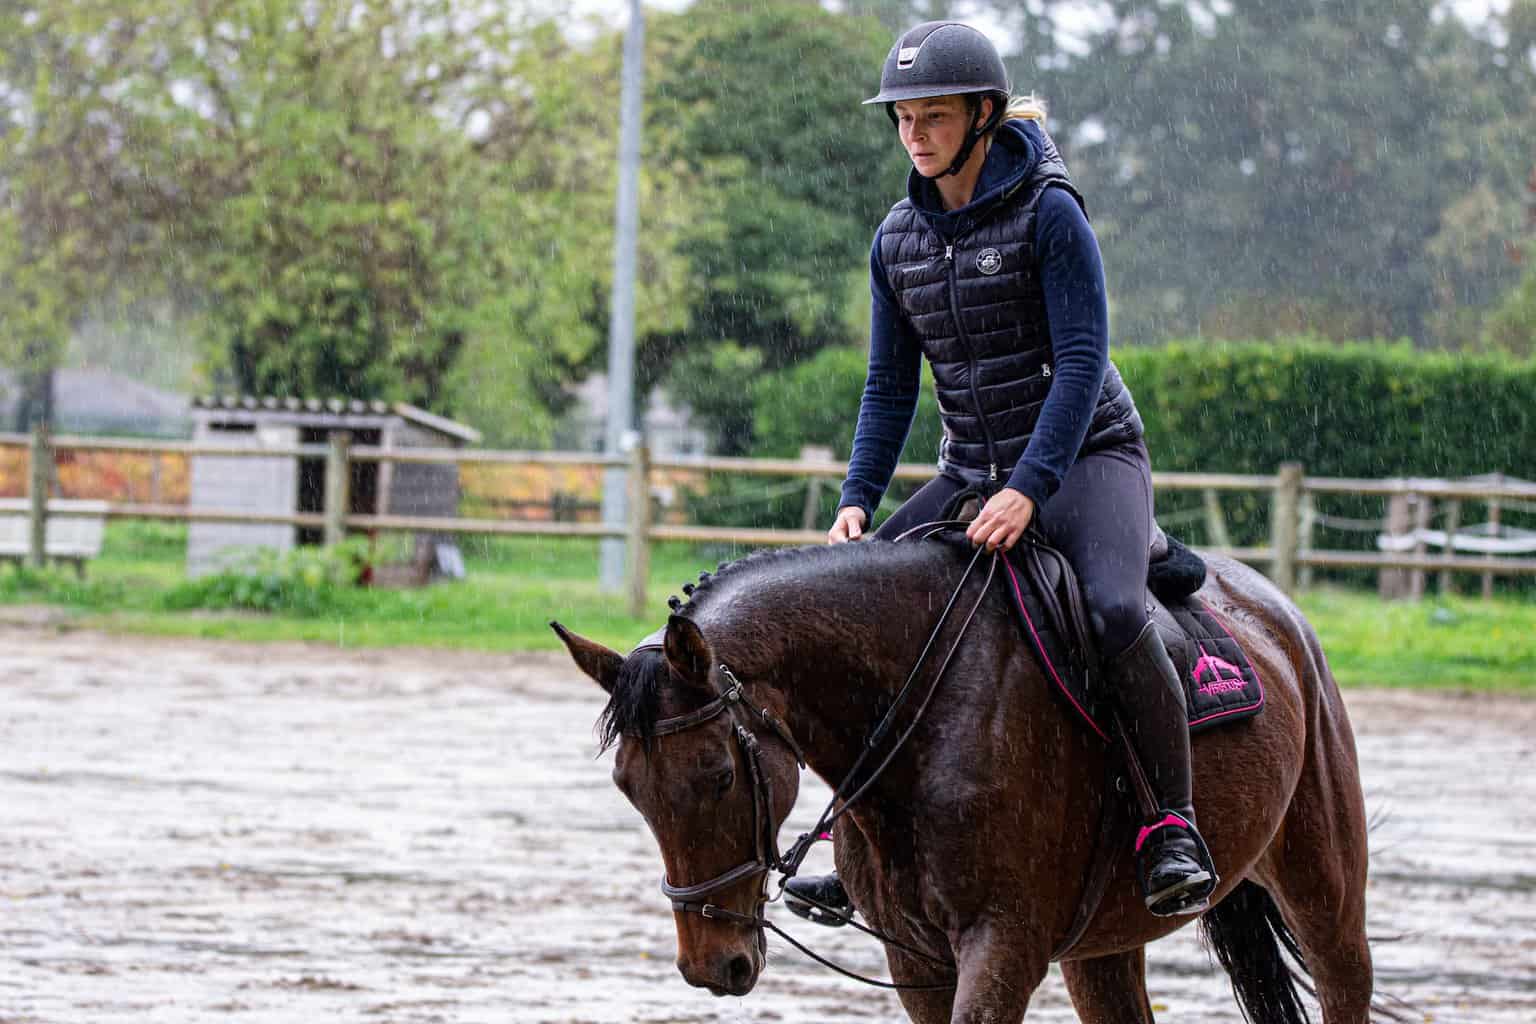
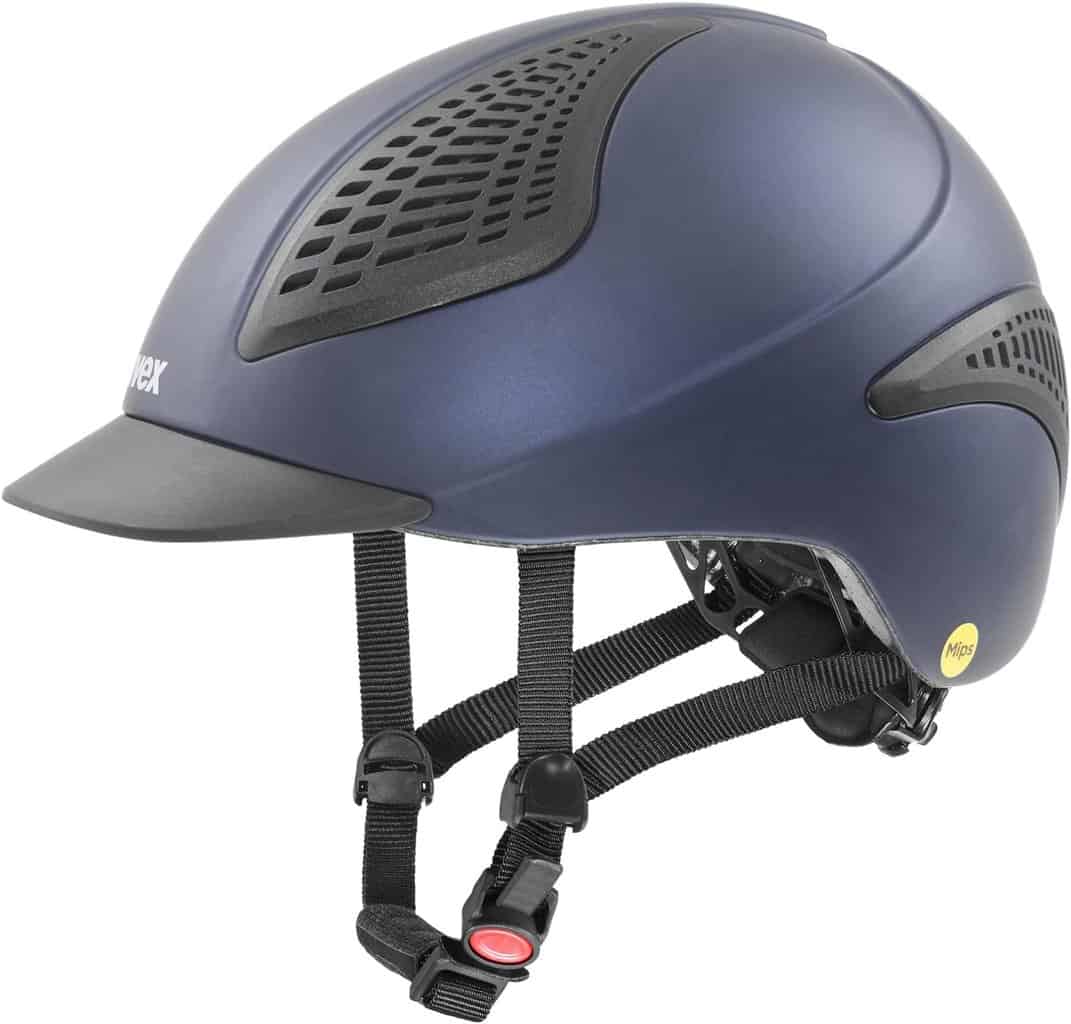
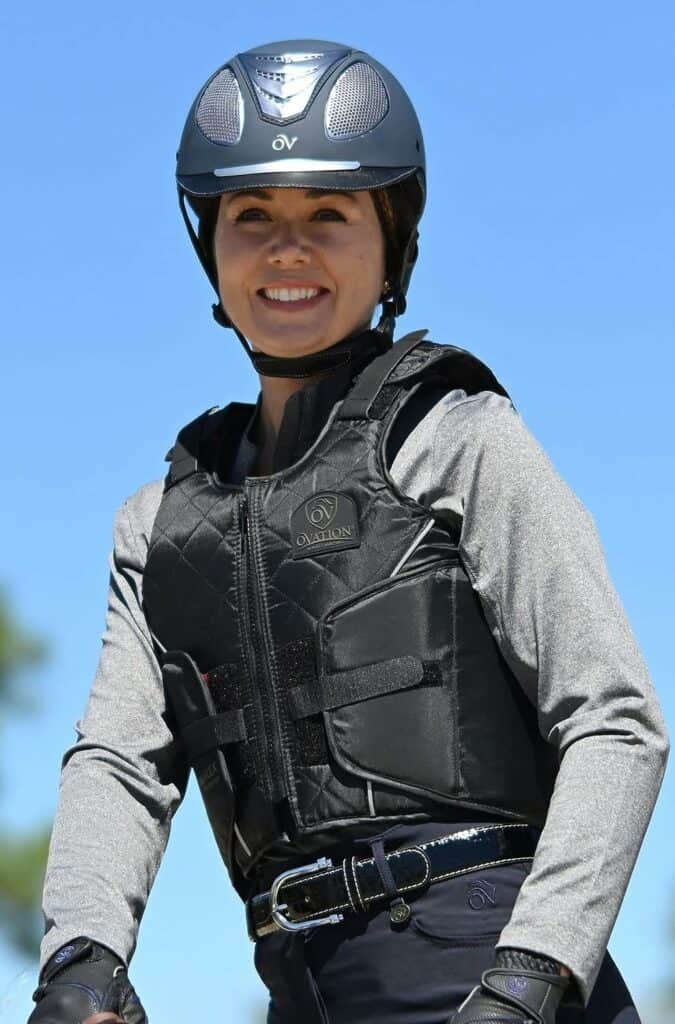
I always want the first sit on a new horse to be uneventful. I’m no cowboy that likes to have a rodeo, so I prepare for the worst by wearing protective gear such as a helmet and safety vest to ensure that if my horse decides to buck, they don’t injure me severely if I fall.
| First Rides | Steps |
| Stirrup Bounces | Your horse isn’t used to having your weight on them, but your legs hanging next to them often freaks them out the most.
Having a partner can help you ease them into this new world. 1. Stand on either side of the horse, gently talking to them as you both lower the stirrup down on your side of the horse. Gently tug on the stirrups in unison, praising the horse for remaining calm. You can use the advance, freeze, and retreat principles if they become fidgety. 2. Now, coordinate with your partner, and both apply light downward pressure on your stirrup. When the horse remains calm, release the pressure. Repeat, and slowly increase the amount of pressure. Gently bounce the stirrups up and down and check for relaxation. |
| Saddle Pressure and Mounting | The horse isn’t used to having weight on their back.
Introducing weight on their back is an excellent way to prevent them from getting a fright. 1. Strapping a weighted bag onto the saddle is an excellent way to introduce pressure, or your partner can give you a gentle leg-up so you can balance belly down over the saddle without putting a foot in the stirrups. 2. Other ways to introduce pressure are to ensure the saddle is fully girthed up and then place a foot in the left stirrup. Rest your belly on top of the saddle, and do it again as soon as the horse fully relaxes. 3. When the horse is fully relaxed, gently swing your leg over so you are fully seated on their back. 4. Relax completely, ensuring your horse doesn’t get worried if you are anxious. 5. You can take a few steps with the horse, but it’s often best to wait a minute or two, then dismount. Repeat the next day and then take a few steps. |
Troubleshooting Guide for Training a Young Horse
A few issues may crop up during your horse training adventure. Here are some solutions that can help you succeed in learning how to train a horse:
| Training Troubleshooting | |
| Issue | Solutions to Try |
| Horse bites and pushes into your space | Increase your energy, pushing the horse out of your space when they approach without invitation.
If they try to bite, deflect their muzzle with your hand. Wrap your palms around their nose and acknowledge them in a friendly way. |
| Horse won’t accept new things and bolts | The horse hasn’t developed enough trust in you, and/or you are over-facing them with scary new things.
Tone things down and go right back to the most simple introductions. Use the advance-freeze-retreat approach to introduce them to the new thing that scared them. |
| Horse “crawls into your pocket” and won’t leave your space | The horse doesn’t respect you enough to respect your space.
Increase your energy levels and put the horse to work, such as circling them, and when they work well, invite them closer. Stroke them or give them rest as a reward. Don’t use food as a reward with such a horse. |
| Horse won’t stand for rider to mount, for first or repeat rides | Ensure the horse isn’t nervous or unsure.
If so, repeat the first trust-building steps. If the horse is not nervous, work on them with activities such as circling and lunging to persuade them that being near you and letting you on them isn’t nearly as exhausting as working. |
| Horse won’t stop when asked | Repeat the side flexion and softness tasks.
When riding, use a physical barrier to make the horse stop, such as riding at a fence, asking for the flexion just before the fence. |
FAQs
Answer: In classical training, the stages of horse training focus on relaxation, rhythm, impulsion (forward energy), straightness, suppleness, contact, and collection.
Answer: A fully trained horse has mastered the basics of training, such as groundwork and accepting a rider, following aids, and becoming a responsive mount. A horse that has received advanced training is also fully trained.
Answer: The training duration depends on how well the horse responds to the training methods. Most backed horses need to be trained for at least three months to be comfortable with the training.
How to Train a Horse: Conclusion
Training your horse is a privilege as you embark on the most amazing journey culminating in the best partnership and friendship with your horse. The goals of all forms of horse training remain the same: relaxation, obedience, flexibility, strength, agility, and responsiveness.
For me, horse training has been such a vital part of my life, and I can’t imagine just buying a fully trained horse and having no part in training them. It’s all been about bonding and riding with trust, from those first steps under the saddle to teaching my horses to swim with me, jump logs, and gallop fearlessly down a new road.
For more on how to keep your horse healthy and hydrated during training, read my horse hydration guide.


